Start with the decisions that matter
OpenFront rewards players who can read the board before committing troops. This guide helps you use the available controls, understand the tradeoff between growth and attacks, and avoid turning a promising position into an exposed one.
The interface supports direct attacks, transport attacks, building choices, alliances, and information tools. A strong opening is less about clicking quickly than about knowing which action is available, what it costs in position, and when to stop.
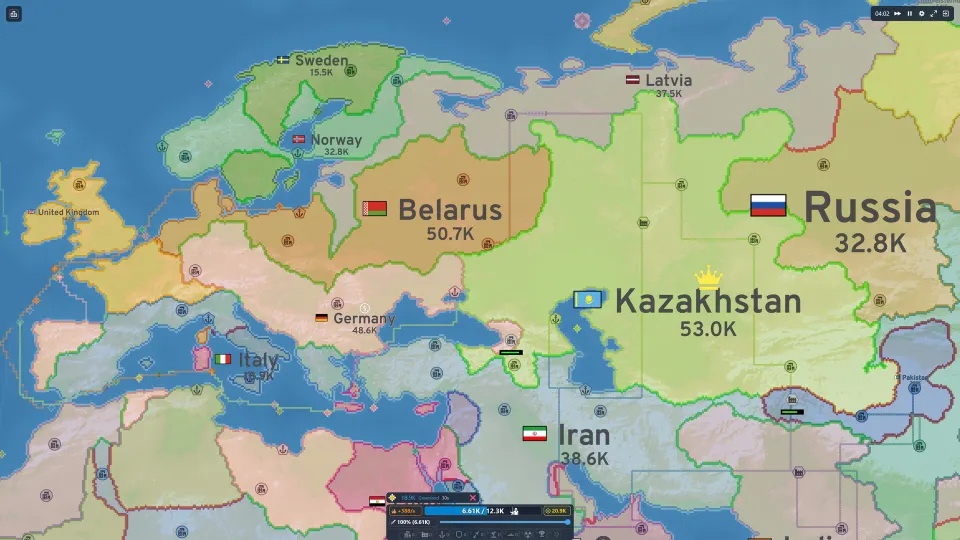
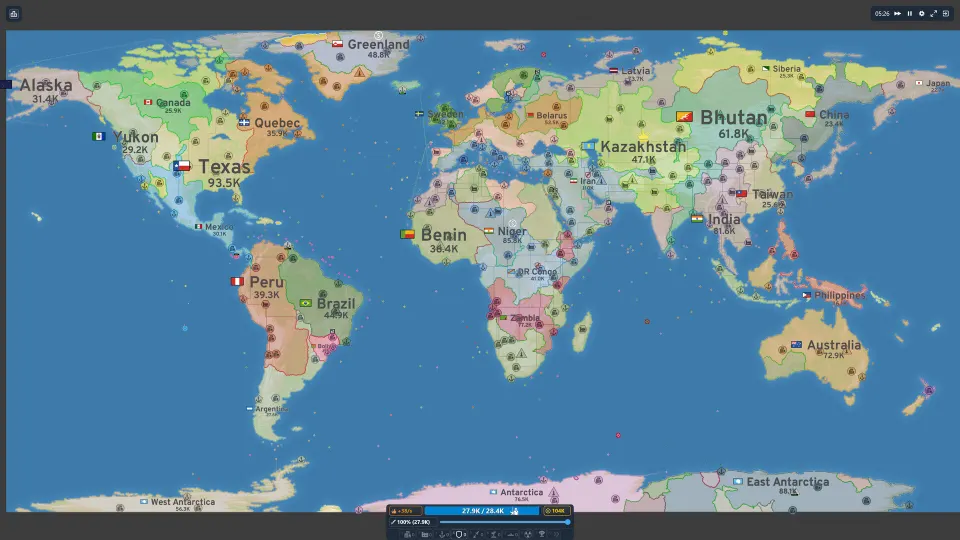
Use the controls first to understand your own borders, nearby players, and terrain. Then make each attack serve a purpose: gaining space, improving your shape, or protecting a route.
| Control or action | What it does | Practical use |
|---|---|---|
| Left click | Attacks the selected player when you share a border | Use for reachable land targets |
| Right click | Opens the Radial Menu | Use to access additional actions |
| Space | Hides nation borders | Use to inspect occupied terrain |
| Troop/worker slider | Controls the ratio of troops to workers | Adjust based on attack needs and growth |
| Attack-use slider | Controls how many troops are used per attack | Avoid committing more than the situation requires |
The two bottom-left sliders deserve attention. One changes the troop-to-worker ratio, while the other changes how many troops are used in an attack. Together, they determine whether you are prioritizing available force or keeping more population in other roles.
Do not treat these sliders as permanent settings. A player preparing to pressure a neighboring border may need a different balance from a player who is holding land, recovering population, or building an economy.
Use the Radial Menu with a clear purpose
Right-clicking opens the Radial Menu. Its buttons are conditional: some are unavailable depending on the selected target, your access to water, or whether the other player is an ally. Knowing those limits prevents wasted attempts during an urgent fight.
| Radial Menu option | Availability or effect |
|---|---|
| Sword icon | Attacks the selected area; unavailable for yourself, water, inaccessible land, or an ally |
| Boat icon | Sends a transport boat to attack the selected area; unavailable without water access |
| Red X icon | Exits the Radial Menu |
| Wrench icon | Opens the Build Menu |
| Gray information icon | Shows information about the selected player |
| Emoji icon | Sends an emoji to the selected player |
| Handshake icon | Sends an alliance request |
| Target icon | Marks a player to allies |
The sword and boat icons answer two different map problems. A land attack requires a shared border, while a transport attack requires access to water. If neither condition is true, look for another route rather than repeatedly trying to force an unavailable action.
The information panel also supports team play. You can communicate with an emoji, request an alliance, or mark a player for allies. Marking a target can help teammates focus on the same threat, especially when a nearby player is expanding into an important lane.
Alliances add more choices. When allied, the menu can show a donation option for sending troops to an ally and a crossed-swords option for betrayal. Betrayal ends the alliance and carries a permanent traitor debuff. It also causes a loss of 20% of defenses.
| Alliance decision | Immediate result | Risk to remember |
|---|---|---|
| Request an alliance | Opens a path to cooperate with another player | Acceptance is not guaranteed |
| Donate troops | Sends troops to an ally | Your own position may be weaker afterward |
| Mark a target | Alerts allies to a player | Allies still need to decide whether to act |
| Betray an ally | Ends the alliance | Permanent traitor debuff and 20% defense loss |
That betrayal cost makes timing important. If an ally is currently covering a flank or helping contain another player, ending that relationship can create a more dangerous board even if the betrayed player looks weak.
Build population before spending it carelessly
Population consists of both troops and resources, with a maximum population that limits how much a player can accumulate. More owned tiles and higher city levels increase that maximum for human players outside “infinite troops” mode.
Maximum population follows this structure:
| Factor | Effect on maximum population |
|---|---|
| Tiles owned | More tiles increase base population capacity |
| City levels | Add city-based population capacity |
| Difficulty setting | Modifies maximum population for certain players, such as bots or “FakeHuman” players |
| Player type | Humans and bots use different scaling factors |
For human players, the formula is:
maxPop = 2 × basePop + cityBonus
basePop is owned tiles raised to the power of 0.6, multiplied by 1,000, plus 50,000. The city bonus is the sum of city levels multiplied by the city population increase. The city population increase is 25,000 for each city added.
| Formula component | Value or definition |
|---|---|
| Base population | (numTilesOwned^0.6 × 1000) + 50000 |
| Human maximum population | 2 × basePop + cityBonus |
| City bonus | sumOfCityLevels × cityPopulationIncrease |
| City population increase | 25,000 |
| Included human-player exception | The formula excludes “infinite troops” mode |
This means expansion and cities both matter, but they do not automatically justify an immediate attack. More land can raise capacity, yet land also creates new borders to protect. More cities can increase capacity, but a universal build order has not been established, so evaluate the board rather than assuming one.
Population growth is described as slowing as current population approaches maximum population. The population-growth formula is:
toAdd = (10 + currentPopulation^0.73 / 4) × (1 - currentPopulation / maxPopulation)
The formula is optimized at roughly 42% of maximum population. Treat that as a useful planning reference from the cited v23 material, not a guarantee that every current version behaves identically; the page itself warns that its factual accuracy may be compromised by being out of date.
Attack for position, not only for territory
An attack should improve something concrete. It might remove a nearby threat, connect a safer shape, gain tiles that support future capacity, or help an ally contain an opponent. Attacking simply because a neighbor is available can leave your new border longer and harder to defend.
Before attacking, make a quick check:
- Do you share a border with the target, or do you have water access for a transport attack?
- Does the target improve your position rather than create an exposed extension?
- How many troops will the attack-use slider commit?
- Are you near the population level where growth is especially useful?
- Will this attack leave another neighbor with an easy route into your land?
The mechanics of target selection, combat resolution, betrayal effect, defense posts, and attack speed have not been precisely confirmed. This guide does not state damage values, processing rates, or exact defense-post behavior.
Several situations call for deliberate planning. For a transport landing, choose a reachable coast, cap each wave, use a Warship screen, establish a beachhead, and cancel a failing operation before it drains the home front. That is a sound decision framework: an overseas attack should have a reachable destination, limited commitment, protection, and an exit condition.
| Situation | Relevant response |
|---|---|
| Land target is adjacent | Use a standard attack through the sword option |
| Target requires crossing water | Use the boat option only with water access |
| Landing is going badly | Cancel before it empties the home front |
| A teammate needs support | Consider donation through the alliance menu |
| A target is inaccessible | Find another route; the sword option is unavailable |
Turn information into safer teamwork
Teams can gain value from coordination, but crowding one another can weaken the group. Preserve one neutral lane per player when teammates spawn together, then choose between a connected edge arc and a deliberate split.
Reserve City, Factory, Port, and rail corridors in team economy planning. These are planning prompts, not universal rules. Their purpose is to prevent teammates from blocking each other’s routes or competing for the same economic space.
When working with allies, communicate before your attack changes the map. Use the target marker to identify pressure points. Decide whether one player will hold a border while another expands, and reconsider the plan when a route no longer survives.
A player can also use the information tool to assess another player before acting. That is particularly valuable when the apparent weak target sits beside a stronger opponent. Taking one player’s territory may produce a new flank against someone more dangerous.
Threat assessment is simple and useful: scan the whole board, choose a target that improves your shape, and stop before a weak neighbor creates a dangerous new flank. That “stop” decision is often what preserves a lead.
FAQ
What is the best first step in an openfront io guide?
Learn the basic controls, inspect borders and terrain, and set your sliders deliberately before committing to attacks. Left click attacks a player sharing your border; right click opens the Radial Menu.
Can I attack any player on the map?
No. A normal sword attack is unavailable if you do not share a border. A boat attack is also unavailable unless you have access to water.
How does maximum population increase?
The v23 guide says it is influenced by owned tiles and city levels, with player type and difficulty also affecting certain cases. For human players outside infinite troops mode, it gives a formula based on base population plus a city bonus.
Should I betray an ally for an easy target?
Consider the cost first. Betrayal ends the alliance, gives a permanent traitor debuff, and makes you lose 20% of your defenses.
Why should I avoid sending every troop in one attack?
The attack-use slider controls how many troops are used per attack. Keeping a reserve can matter if your attack fails, another player attacks your border, or your home front needs protection.