Start With a Position You Can Defend
The most useful OpenFront tips are about avoiding a collapse before it starts. A larger position is not automatically safer: every new foothold, coast, teammate border, and route can create another decision you must defend.
Begin by looking at your immediate situation rather than following a fixed build order. The important early questions concern expansion, teammate placement, water crossings, rail income, and threat assessment. That makes a compact, readable core valuable: it gives you time to decide whether a move improves your position or merely adds exposure.
Use this short opening check before committing resources:
- Is there a clear reason to take more land now: liquidity, access, need, or a deadline?
- Will the move leave your home front underprotected if it fails?
- Does the new area improve your shape or create another weak flank?
- If you have teammates, have you left room for their Cities, Factories, Ports, and rail corridors?
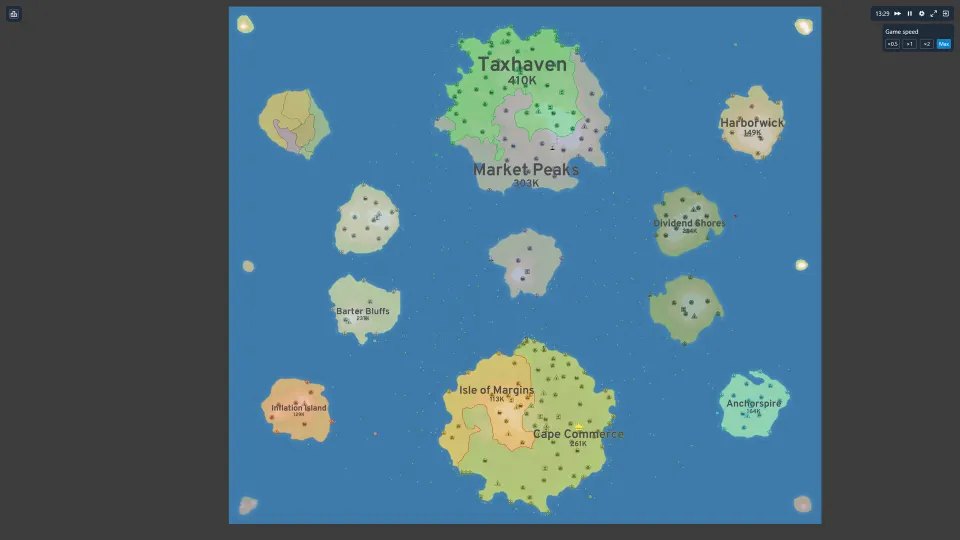
- If water separates the objective, can you establish and hold a beachhead instead of only reaching the coast?
A safe economy should be distinguished from the moment it should take more land. That distinction is worth preserving. Expand because the current situation calls for it, not because expansion feels like progress.
| Decision | Key consideration | Practical takeaway |
|---|---|---|
| Turn a compact core into a second foothold | Liquidity, access, need, and deadline | Check why expansion is needed before committing |
| Spawn with teammates | Teammate rings and one neutral lane per player | Leave room to avoid blocking each other |
| Land across water | Reachable coast, wave cap, Warship screen, beachhead | Plan the landing as an operation, not a single move |
| Pressure another player | Whole-board scan, shape improvement, weak flanks | Choose targets that leave your position stronger |
A good early habit is to retain a fallback. The transport landing guide emphasizes canceling a failing operation before it empties the home front, while the island-defense guide says a disconnected sea route can mean it is time to fall back to land. Those are different situations, but they teach the same lesson: do not let an ambitious move consume the force that keeps your main position alive.
Manage Population, Land, and Cities Carefully
Land and Cities affect maximum population, so expansion has a direct strategic value. Owned tiles, City levels, game difficulty, and player type can influence maximum population. For human players outside infinite-troops mode, the formula uses owned tiles and City levels.
| Maximum-population component | Value or relationship |
|---|---|
| Human-player maximum population | 2 × basePop + cityBonus |
| Base population | numTilesOwned^0.6 × 1000 + 50000 |
| City bonus | sumOfCityLevels × cityPopulationIncrease |
| City population increase | 25,000 |
| Other listed influences | Game difficulty and player type |
The formula shows that more territory increases capacity, but it does not say that every expansion is equally safe. Treat capacity as one part of the decision. A distant or poorly connected territory may raise your potential population while giving opponents another direction from which to pressure you.
Population growth depends on current population relative to maximum population. The growth formula is optimized at roughly 42% of maximum population. That is useful as a planning signal: a player near capacity should not assume that sitting still provides the strongest growth rate.
| Population-growth reference | Detail |
|---|---|
| Growth per tick | (10 + currentPopulation^0.73 / 4) × (1 - currentPopulation / maxPopulation) |
| Growth depends on | Current population and maximum population |
| Reported growth optimum | Roughly 42% of maximum population |
| Version note | Mechanics are last updated for v23.0 |
Do not treat the formula as a promise that every current client version behaves identically. Its factual details may be out of date. Use its formula to understand the relationship between capacity and growth, then check the live game when a precise timing decision matters.
Cities deserve the same restraint as land. Their levels contribute to the listed City bonus, but a City placed where teammates need a shared corridor can create an economic conflict. Reserve City, Factory, Port, and rail space, name the payer, prove the first settlement, and stop when a shared route no longer survives.
Attack for Shape, Not Just Territory
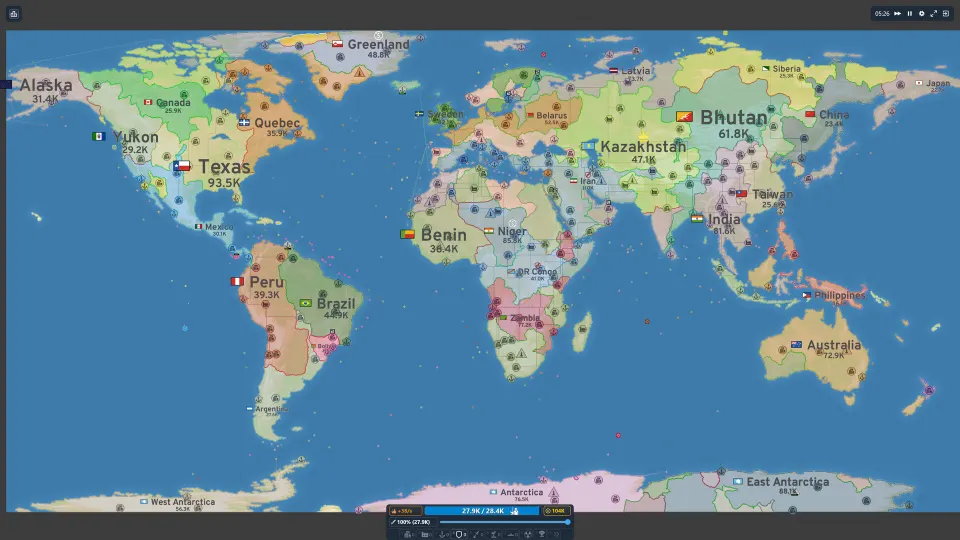
An attack should solve a position problem. Scan the whole board, choose a target that improves your shape, and stop before a weak neighbor creates a dangerous new flank.
That last condition matters. A player may look vulnerable while still being a poor target if attacking them stretches your line, opens a route toward your core, or prevents a teammate from using a needed corridor. Before attacking, identify the defensive question the attack creates after it succeeds.
Use a simple sequence:
- Scan the whole board before selecting a target.
- Ask whether taking territory improves your shape.
- Identify the flank the attack could expose.
- Make a small probe when trying to close a pocket.
- Keep a second route after a transfer or enclosure.
- Stop if the gain creates a more dangerous problem than it removes.
Use small probes, verify the inland-cluster rule, assign capture credit, and keep a second route after the transfer. These points are especially relevant in team games, where a successful closure can still cause disagreement or isolate the wrong player.
Target selection, combat resolution, betrayal effect, defense posts, and attack speed are separate topics. However, their detailed rules have not been officially confirmed. Do not rely on guesses about resolution or processing rate when making a decisive commitment.
| Attack situation | Source guidance | Risk to avoid |
|---|---|---|
| Choosing a target | Scan the whole board and improve your shape | Creating a dangerous new flank |
| Closing a pocket | Use small probes and verify the inland-cluster rule | Overextending before the closure works |
| Team transfer | Assign capture credit and retain a second route | Losing access after territory changes hands |
| Failing water operation | Cancel before it empties the home front | Sacrificing the core for a distant attempt |
Defense Posts are another decision that should be tied to a clear purpose. Defense Posts have a 30-tile defense zone and a 50-tick build; consider whether a second line is better than stacking one tile. In other words, placement and timing matter; a defense structure is not automatically the best answer simply because an attack is nearby.
Coordinate Space, Water, and Shared Routes
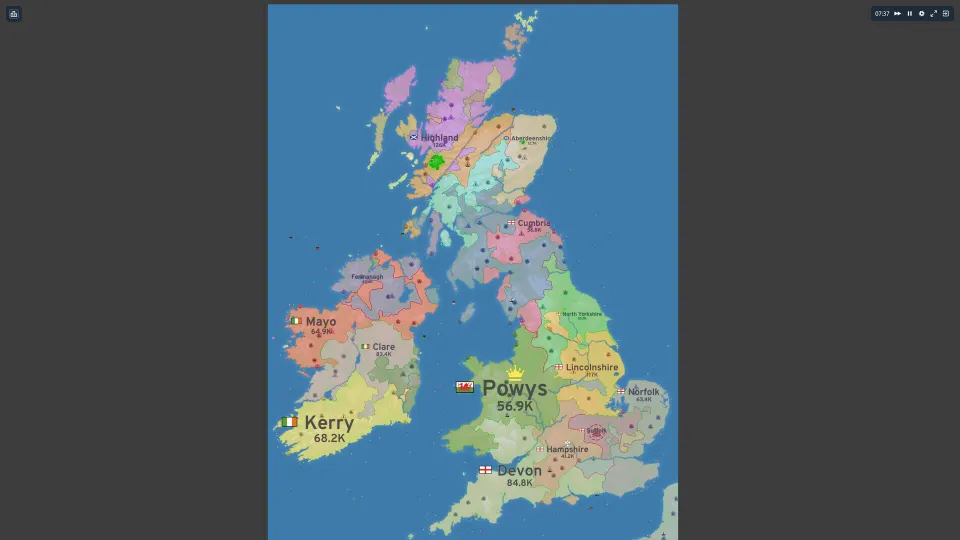
Team coordination begins before teammates physically block each other. Read teammate rings, preserve one neutral lane per player, and decide between a connected edge arc and a deliberate split. Those choices shape the rest of the game because they affect where players can grow, build, and move.
| Team or map concern | Approach |
|---|---|
| Initial team formation | Read teammate rings and preserve one neutral lane per player |
| Formation choice | Use a connected edge arc or a deliberate split |
| Shared economy | Reserve City, Factory, Port, and rail corridors |
| Settlement planning | Name the payer and prove the first settlement |
| Four Islands coordination | Assign island jobs, time crossings, protect the shared core, and hand off routes |
Water makes coordination more demanding. Choose a reachable coast, cap each wave, place a Warship screen, build a beachhead, and cancel a failing operation. Use transport screening, a Port and Defense Post, and a land fallback when a sea route becomes disconnected.
These are not isolated naval tricks. They are ways to prevent a crossing from becoming a one-way drain on the team’s position. If one teammate crosses while another must protect the core, say who holds each responsibility before the operation begins.
Train networks also need an explicit owner and purpose. Train networks involve station range, rail-segment limits, stop payouts, hub layouts, and the point at which it is safe to stop upgrading. The exact range, segment limit, and payout values have not been officially confirmed; do not invent a universal layout.
FAQ: OpenFront Tips
What are the best OpenFront tips for a new match?
Protect a compact core first, then expand only when liquidity, access, need, or a deadline justifies it. Scan the full board before attacking, preserve routes, and avoid moves that create a dangerous new flank.
When should I expand?
The decision depends on liquidity, access, need, and deadline. If you cannot explain which of those requires expansion, keeping a safer core may be the better choice.
How should teammates avoid hurting each other’s economy?
Preserve a neutral lane per player when spawning, reserve space for Cities, Factories, Ports, and rail corridors, and name the payer before a shared settlement. Stop pursuing a shared route when it no longer survives.
What should I do when a water landing is failing?
Cancel it before it empties the home front. Use a reachable coast, capped waves, a Warship screen, and a beachhead; if the sea route becomes disconnected, falling back to land may be necessary.